FY-LMM02
Integrated desktopAn open table and an integrated base for manually loaded work.
An integrated workstation for manually loaded marking jobs. Match the source, lens and fixture to your material and the mark you need.
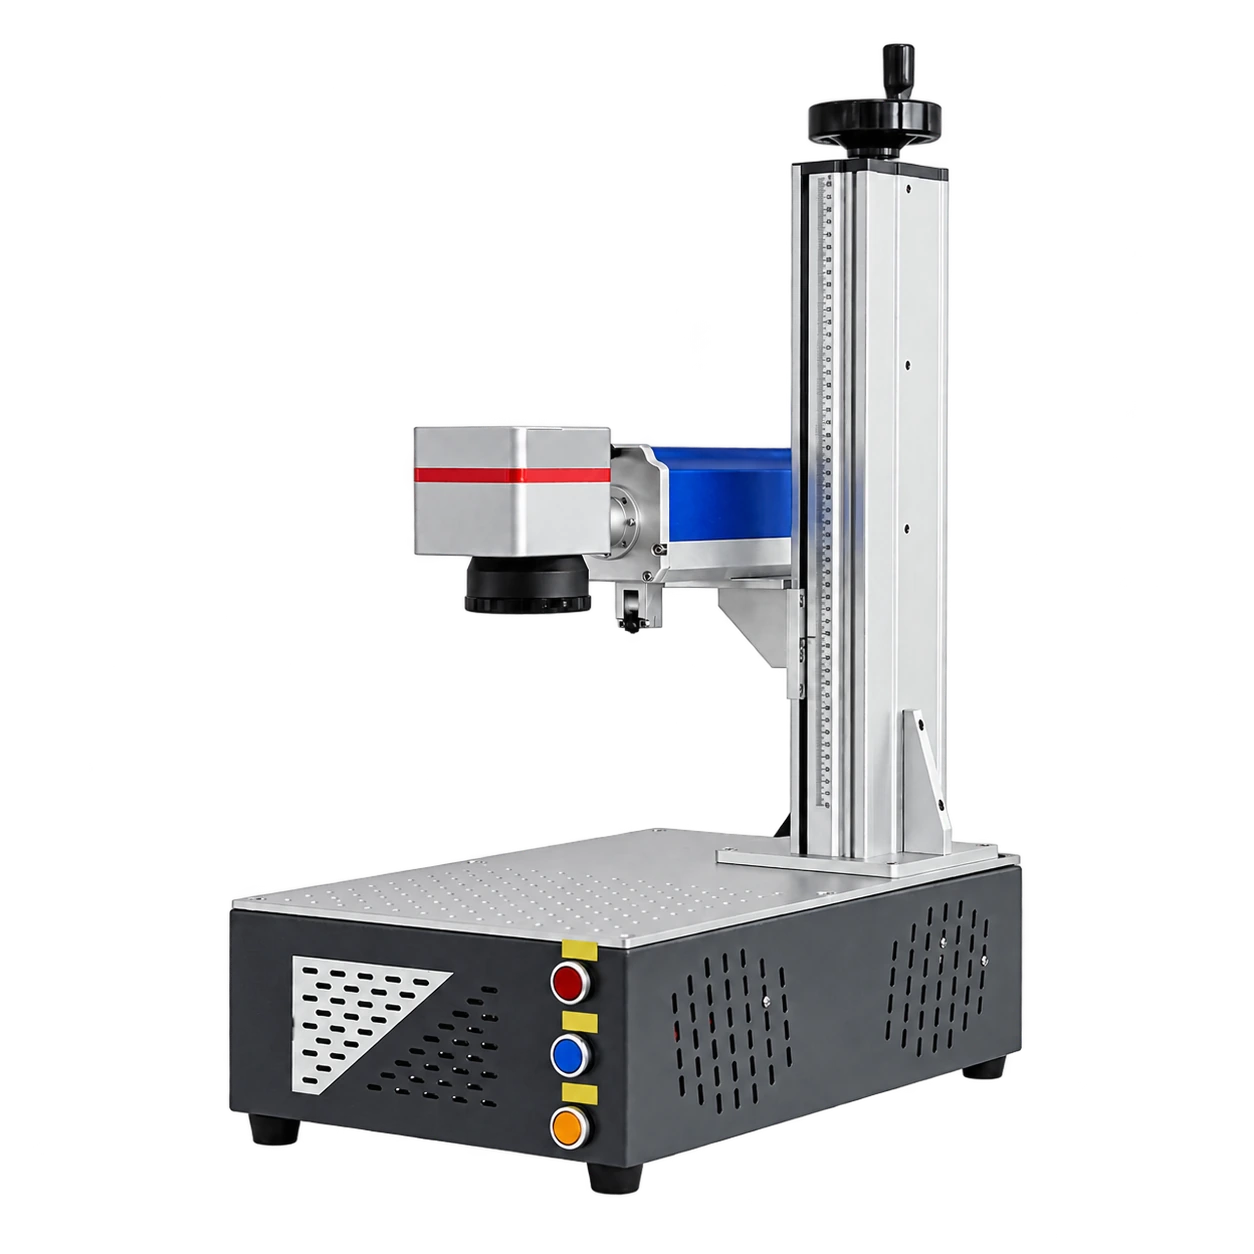 FY-LMM02 / FIBER CONFIGURATION
Open table. Adjustable head. One integrated base.
A short recorded demonstration brings the desktop format and a logo-marking example into view.
Text, a logo, a code or an engraved finish: begin with the result you want, then agree the configuration and sample conditions.
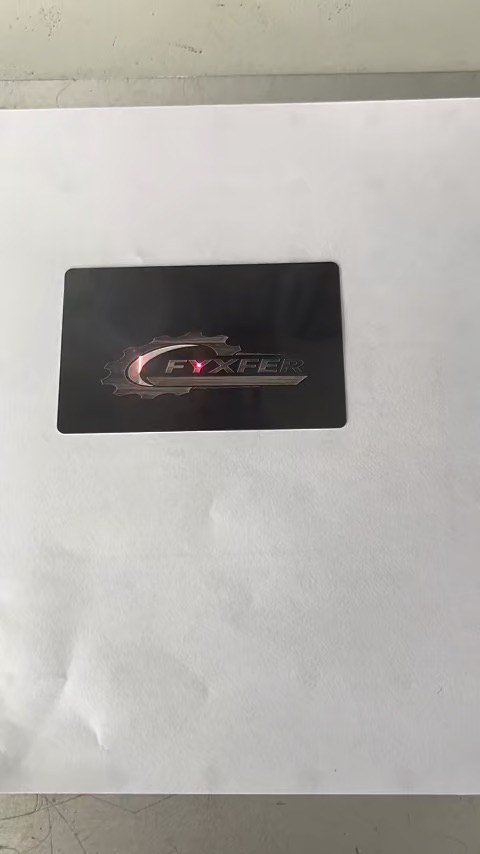
The recording does not specify the exact material, source or power. Use a representative sample to confirm your own finish and cycle time.
You do not need to know every laser specification to start. Work through the questions that matter to your application.
A material name is the starting point. Its alloy, coating and surface finish help define the sample test and the laser configuration.
The material name, surface finish and a clear part photo. Tell us which area needs marking.
Selection illustration. Confirm results on your exact material.
The photographed machine is a fiber configuration. The selected source, lens and accessories determine the equipment supplied.
Marking field is not maximum part size. Check the complete part, fixture and head clearance together.
Ask for an itemised list covering the laser source, lens, controller, software, computer, fixtures, extraction and electrical requirements.
Compare the way you load and position the part before choosing the machine format.
Save the selection guide or use the quick answers below to prepare your application.
Laser Marking Selection GuideEnglish · application & configuration planning↓No. Start with your material, artwork and required finish. Power is one part of the configuration; the sample result and complete loading cycle matter too.
Choose the field around artwork size, fine detail and working distance. A larger field does not automatically give a better result. Check part and fixture clearance separately.
A rotary fixture can be evaluated once the part diameter, length, weight and marking position are known. Confirm compatibility and whether it is included.
The final specification, sample acceptance conditions, included equipment, electrical supply, guarding and extraction, delivery scope and support arrangements.
Start with your material and the mark you want. You can add dimensions, output targets and installation details as the discussion develops.
Continue on our contact page to share your application and request a configuration.
Discuss my application ↗